
Bring the Farm Home: A Step-by-Step Plan for Your First Productive Veggie Patch
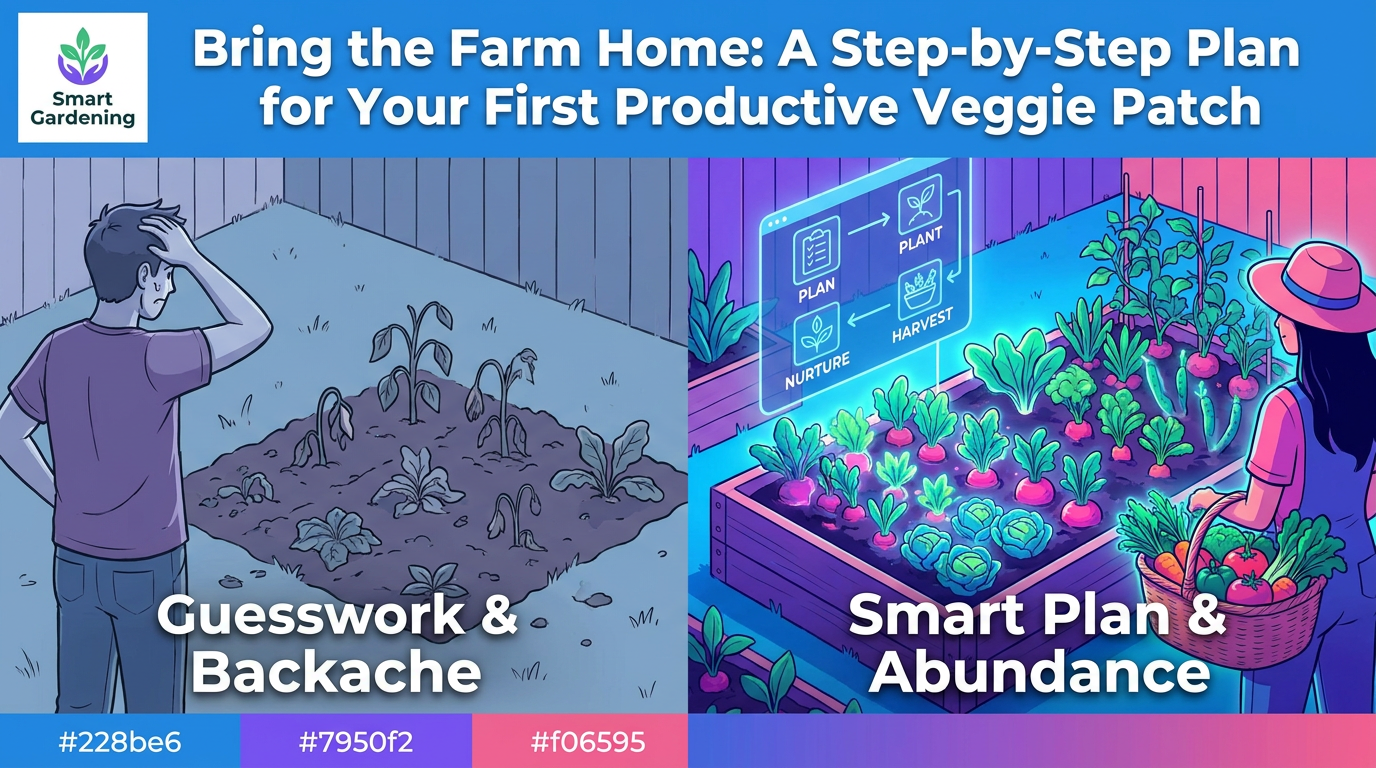
You scroll past photos of overflowing garden beds, baskets of tomatoes, and “harvest haul” reels and think: that looks amazing… but where would I even start?
Maybe you’ve tried before. You bought a few packets of seeds, tucked them in the ground, and got a handful of limp leaves, a single tomato, or nothing at all. The idea of a little “farm at home” sounds great. The reality feels like guesswork, backache, and disappointment.
Real farms don’t run on guesswork. They follow a simple sequence: choose the land, prepare the soil, pick hardy crops, plant on time, water consistently, and keep records. When you shrink that down to backyard scale, you get a clear, realistic plan for a veggie patch that actually feeds you.
This guide walks you through that plan, step by step, using farm habits translated for a home garden. No jargon, no perfection. Just a small, organized patch that produces real food.
Think Like a Small Farmer, Even in a Small Yard
Farmers don’t start with “What should I plant?” They start with “Where and how will it grow?” You’ll get better results if you do the same.
Here’s how a farmer’s mindset looks in a backyard or side yard:
- They map before they dig. You’ll sketch your space and plan bed sizes instead of randomly digging holes.
- They match crops to conditions. You’ll choose plants for your sun, soil, and time, not for how pretty the packet looks.
- They work the soil once, then maintain. You’ll do one decent prep, then mostly top up with compost instead of constantly re‑digging.
- They plant in rows or blocks, not gaps. You’ll plant in simple lines or rectangles you can weed and water efficiently.
- They repeat what works. You’ll keep tiny notes so next season feels easier, not like starting over.
You don’t need acreage. A 1.2 m × 2.4 m (4 ft × 8 ft) bed, or two smaller beds, can act as your “mini‑farm” and still give you salads, herbs, and cooking veggies for months.
Step 1: Pick the Patch Like You’d Pick a Field
A farmer picks a field with sunlight, access to water, and workable soil. You need the same three.
Walk outside at three times on a clear day:
- Around 9–10 a.m.
- Around 1–2 p.m.
- Around 4–5 p.m.
Note where the sun hits the ground each time.
You want a spot that gets at least 6 hours of direct sun between morning and late afternoon. More is better for fruiting crops like tomatoes and peppers; leafy crops can cope with a little less.
When choosing between possible spots, prioritize:
- Sun first. A sunny corner with mediocre soil beats rich shade.
- Water access second. Can you run a hose there or carry a watering can without hating your life?
- Flat or gently sloped ground third. Steep slopes dry out and erode.
If you truly can’t find 6 hours of direct sun, you still have options, but your “farm and home” combo leans more toward herbs and leafy greens. For full farm‑style variety (tomatoes, beans, cucumbers), chase that sun.
Quick checks before you commit
- Stand where the bed will go. Look up. Trees, roof edges, or balconies blocking midday sun are bad news.
- Look down. Is the soil bare, weedy, or turfgrass?
- Bare or weedy soil often means it’s been used before and is easier to work.
- Thick, dense lawn means more effort to convert, but it’s still doable.
- Is there a drain or a spot where water pools? Avoid soggy areas; roots rot there.
If your yard is all lawn and you’re nervous about digging, you can still build a raised bed on top. The next section helps you choose.
Step 2: Choose Bed Style: In‑Ground, Raised, or “No‑Dig” Farm Strip
Real farms mostly plant in the ground. You can too. Raised beds just speed things up when soil is poor, compacted, or you like a tidier look.
Here’s how to decide quickly.
Option A: In‑ground bed (cheapest, most like a real field)
Best if:
- Your soil isn’t solid rubble or thick, pure clay.
- You’re fine doing one solid digging or loosening session.
- You want minimal lumber or materials.
Simple starting size: 1.2 m × 2.4 m (4 ft × 8 ft).
- Mark a rectangle with string, hose, or stakes.
- Slice off sod (grass) in strips with a spade and flip it upside‑down inside the rectangle.
- Dig or fork the top 20–25 cm (8–10 in) of soil to loosen.
- Mix in 5–8 cm (2–3 in) of compost across the surface and rake smooth.
Option B: Raised bed (neater, great for bad soil)
Best if:
- Your native soil is rocky, compacted, or contaminated.
- You want clean edges and fewer weeds.
- You can buy or source extra soil/compost.
Basic setup:
- Use rot‑resistant timber, metal, or sturdy recycled materials.
- Keep width at no more than 1.2 m (4 ft) so you can reach the middle.
- Height: 20–30 cm (8–12 in) is enough for most veggies.
- Fill with:
- ~50% topsoil
- ~30–40% compost
- ~10–20% coarse material (coco coir, leaf mould, or aged manure)
If your ground is lawn, lay cardboard under the bed (overlapped well) to smother grass, then fill.
Option C: No‑dig strip (least digging, very beginner‑friendly)
Best if:
- You hate digging.
- You can collect a fair amount of organic material.
- You’re okay with the bed being slightly higher than ground level.
To make a no‑dig “farm strip”:
- Mow grass very short where the bed will be.
- Lay overlapping cardboard (remove tape/staples) over the entire area.
- Add 5–8 cm (2–3 in) of compost or rich topsoil on top.
- Add 5–8 cm (2–3 in) of straw, leaf mulch, or similar around (not on top of) where plants will go.
You plant directly into the compost layer. Worms and time handle the digging underneath.
Step 3: Test and Improve Soil Like a Pro (Without a Lab Coat)
Farmers test and adjust soil. You don’t need a full lab, but a few simple checks prevent big headaches.
Quick DIY soil tests
- Texture test
- Grab a handful of moist soil.
- Squeeze it, then poke it.
- If it forms a hard, sticky ball: heavy clay.
- If it falls apart like sand: very sandy.
- If it holds shape but breaks when poked: loam (ideal).
- Drainage test
- Dig a small hole about 30 cm (12 in) deep.
- Fill with water and let it drain.
- Fill again and time it.
- If water is still sitting after 4 hours, drainage is poor (avoid water‑loving crops like onions there, mound beds, or choose raised beds).
- pH test (optional but useful)
- Buy a simple home soil test kit or pH meter.
- Most veggies like pH between 6.0 and 7.0.
Simple soil improvements before you plant
If you do nothing else, add compost.
- Spread 5–8 cm (2–3 in) of compost over the top of your bed.
- Mix lightly into the top 10–15 cm (4–6 in) if you’re digging.
- For no‑dig, leave it on top and plant into it.
For specific issues:
- Clay soil (sticky, poor drainage)
- Add extra compost and some coarse material (coco coir, leaf mould).
- Avoid walking on the bed; compaction kills structure.
- Sandy soil (dries fast)
- Add compost and some well‑rotted manure.
- Mulch later to hold moisture.
You don’t have to “fix” everything in one go. Farms improve soil year by year; your small patch will do the same.
Step 4: Choose “Bulletproof” Crops for a First‑Year Harvest
Farms grow cash crops because they pay the bills. You should grow “confidence crops” that pay you in easy wins.
Start with plants that:
- Germinate reliably or are easy as seedlings.
- Tolerate small mistakes with watering.
- Give multiple harvests from one planting.
Aim for 6–8 crops in your first season:
Great beginner crops for a small home “farm”
- Leafy greens
- Lettuce (looseleaf types), spinach, arugula.
- Fast to grow (4–6 weeks), cut‑and‑come‑again.
- Herbs
- Basil, coriander (cilantro), parsley, mint (in a pot nearby).
- High flavor payoff; small space.
- Bush beans (not pole beans)
- Direct sow from seed.
- Less staking, very productive in a small bed.
- Cherry tomatoes
- Start from a seedling, not seed, your first year.
- More forgiving and earlier than big slicing types.
- Cucumbers (bush or compact varieties if space is tight)
- Climb a simple trellis to save space.
- Radishes
- Super fast (3–4 weeks), great for learning.
- Spring onions/green onions
- Can be tucked along bed edges.
Skip, at least for year one:
- Big pumpkins and melons (space hogs).
- Cauliflower (fussy about timing and weather).
- Corn (you need a block of plants for proper pollination and decent harvests).
If you’re unsure which specific varieties to buy, ask at your local garden center for disease‑resistant, local favorites. Those are like a farmer’s best seed line: chosen over time because they perform.
Step 5: Plan Your Bed Like a Field Map, Not a Flower Border
Farms use rows and blocks so they can plant, weed, and harvest quickly. You’ll do a simplified version using a pencil and paper.
Take a sheet and draw your bed as a rectangle.
- Label the long side as 2.4 m (8 ft) and short side as 1.2 m (4 ft), or whatever dimensions you chose.
- Turn it so one of the long edges faces south (or the sunniest side if you’re not sure of direction).
Arrange crops by height and sun
Place taller crops so they don’t shade the shorter ones.
In the northern hemisphere (most readers):
- Put tall plants on the north side of the bed.
- Medium in the middle.
- Short along the south/front edge.
For example, in a 1.2 m × 2.4 m bed:
- North row (back): 2–3 cherry tomato plants + 2 cucumber plants on a shared trellis.
- Middle rows: 2 rows of bush beans.
- Front rows (south edge): a wide band of lettuce, spinach, and spring onions.
Use simple spacing rules
Use approximate spacings (check your seed packets for your exact variety):
- Lettuce: 20–25 cm (8–10 in) apart.
- Spinach: 10–15 cm (4–6 in) apart.
- Bush beans: 15–20 cm (6–8 in) apart.
- Cherry tomato: 45–60 cm (18–24 in) apart.
- Cucumbers: 30–45 cm (12–18 in) apart.
You can group plants in blocks instead of strict rows:
- A 30–40 cm (12–16 in) wide strip of mixed lettuce and arugula across the front.
- A 60 cm (24 in) wide block of bush beans in the middle.
Leave narrow paths or just avoid stepping into the bed. Think of your bed as a tiny field: everything inside is for roots, not boots.
Step 6: Time Your Planting Like a Seasoned Grower
Farmers live by calendars. You don’t need to memorize frost dates, but you do need to know roughly when each group of crops wants to be planted.
Find your average last frost date and first frost date online by searching your city + “frost dates”. Use those as rough guides.
General rules (adjust for your climate):
- Cool‑season crops (lettuce, spinach, radishes, peas)
- Plant 2–4 weeks before last expected spring frost, or in late summer for autumn.
- Warm‑season crops (tomatoes, beans, cucumbers, basil)
- Plant after the danger of frost has passed and soil has warmed.
For a simple first season in many temperate climates:
- Early spring
- Prepare beds, add compost.
- Plant radishes, spinach, early lettuce.
- Mid to late spring
- Add beans, cucumbers, and tomato seedlings.
- Early summer onward
- Keep harvesting greens.
- Start basil between other plants once nights are reliably warm.
Aim for one main planting weekend plus a few follow‑up tasks, not constant big projects.
Step 7: Planting Day: Farm‑Style, Step‑by‑Step
Here’s a simple “planting day” routine based on how small farms transplant and sow.
1. Pre‑water the bed
- Water the prepared bed thoroughly the day before, or a few hours before planting.
- Moist but not soggy soil helps seeds stick and reduces transplant shock.
2. Set out seedlings in their spots (dry run)
If you’re using seedlings (tomatoes, herbs, some lettuces):
- Place them on the soil where they’ll go, still in their pots.
- Adjust spacing until it matches your rough plan.
This “dry layout” mirrors how farmers stage trays of seedlings before planting a field.
3. Plant seedlings correctly
For each seedling:
- Dig a hole slightly wider and as deep as the root ball (deeper for tomatoes; you can bury their stems a bit).
- Gently squeeze or tap the pot to release the plant.
- Place the seedling in the hole; top of the root ball should be level with the surrounding soil (slightly deeper for tomatoes).
- Backfill gently, firming the soil around roots.
- Water each plant at the base, slowly, until water soaks in.
4. Sow seeds in rows or bands
Use a stick, your finger, or a small trowel to draw shallow lines for seeds.
- Check seed packet for depth. Rule of thumb: plant seeds about 2–3 times as deep as the seed is wide.
- Space seeds in the line; you can always thin extra seedlings later.
- Cover lightly with soil or compost and firm gently.
- Water with a soft spray so you don’t wash them away.
5. Label your “field”
Farms know what’s in each field. You should too.
- Use simple plant labels (wooden sticks, plastic tags, or cut‑up yogurt tubs).
- Write the crop and date: “Bush beans – 10 May”.
When something doesn’t come up, you’ll know if it’s a slow germinator or a no‑show that needs re‑sowing.
Step 8: Water and Mulch the Way Farmers Protect Their Fields
Most new gardens fail not from “bad soil” or “black thumbs” but from uneven watering.
Farmers can’t hand‑water thousands of plants. They rely on consistent systems. You can copy that at a small scale.
How much and how often
- Aim for about 2.5 cm (1 in) of water per week, including rain, for most veggies.
- In hot or windy weather, containers and raised beds may need watering every day.
Simple test: stick your finger in the soil up to your second knuckle.
- If it feels dry at that depth, water.
- If it’s still moist, wait.
Water early in the morning if you can.
- Plants drink before heat hits.
- Leaves dry quickly, reducing disease.
How to water
- Water the base of plants, not the leaves.
- Use a watering can with a rose or a hose with a gentle spray.
- Let the water soak in. Two slow rounds are better than one fast blast.
Mulch: your mini version of a farm’s stubble
Farmers often leave crop residues on fields to protect soil. You’ll use mulch for the same job.
Benefits of mulch:
- Reduces evaporation and keeps soil moist.
- Suppresses weeds.
- Protects soil life from harsh sun.
Good mulches for a veggie patch:
- Straw (not hay; hay has seeds).
- Shredded leaves.
- Grass clippings in thin layers (let them dry first to avoid slime).
How to apply:
- Wait until seedlings are a few inches tall.
- Spread a 5–8 cm (2–3 in) layer around plants, not pressed against stems.
Your bed will look more like a real field and less like bare, baked earth.
Step 9: Simple “Farm Chores” Checklist for Each Week
Farms run on routines. A tiny veggie patch needs only 10–20 minutes a few times per week, but it helps to think in chores.
Choose two or three set “garden times” each week (for example, Tuesday evening and Saturday morning). During each visit, walk through this quick checklist:
- Look first.
- Are any plants drooping, yellowing, or chewed?
- Are there dry spots or puddles?
- Water if needed.
- Use the finger test for moisture.
- Focus on new seedlings and thirsty plants like cucumbers.
- Weed lightly.
- Pull small weeds by hand while they’re tiny.
- Never let a weed make seeds.
- Harvest early and often.
- Cut lettuce and greens when leaves are tender.
- Pick beans when they’re pencil‑thin.
- Snip herbs regularly to keep them bushy.
- Tidy and support.
- Tie tomatoes loosely to stakes or a trellis.
- Redirect cucumber vines along their support.
- Note anything unusual.
- Keep a tiny notebook or phone note: “Aphids on beans 5 June, rinsed with water.”
These micro‑routines are your version of a farmer’s field walk. Problems caught early are almost always fixable.
Step 10: Protect Your Harvest Without Overcomplicating Pest Control
Farmers don’t expect zero pests; they aim for a healthy balance. You can adopt the same expectation.
Common home‑garden issues and farm‑style solutions:
1. Chewed leaves overnight
Likely culprits: slugs, snails, or caterpillars.
Actions:
- Check under leaves early in the morning.
- Hand‑pick any you find and drop them in soapy water.
- Use coarse mulch or copper tape around beds for slugs.
- Cover very tender seedlings with fine mesh or row cover at night.
2. Tiny clusters of insects on stems or leaf undersides
Likely: aphids.
Actions:
- Spray them off with a strong but controlled jet of water.
- Encourage ladybirds (ladybugs) by not using harsh chemicals.
- Pinch off heavily infested tips if needed.
3. Yellowing, weak plants despite water
Possible causes:
- Poor drainage / waterlogged roots.
- Not enough nutrients.
Actions:
- Check soil moisture; fix puddling areas.
- Add a light top‑dressing of compost around the plant.
- Use a balanced organic liquid feed every 2–3 weeks during peak growth (follow label rates).
Focus on prevention:
- Healthy soil + consistent watering = stronger plants that resist pests.
- Diversity of crops = pests spread out, not concentrated on one big monocrop.
You don’t have to chase every bug. Aim for plants that are mostly healthy most of the time.
Step 11: Harvest Like a Farmer: Early, Often, and With a Plan
Many new gardeners wait too long to harvest. Farmers don’t. They pick when crops are at their best, not just when they’re biggest.
Key habit: if you’re not sure, try harvesting one. Taste and texture will guide you.
Approximate harvest cues:
- Lettuce and spinach: when leaves are about 8–15 cm (3–6 in) long. Cut outer leaves and let the center keep growing.
- Radishes: when the “shoulder” is visible at the soil surface and about marble‑to‑grape size.
- Beans: when pods are firm but still slender; seeds inside just starting to show bumps.
- Cucumbers: pick when they’re the size listed on the packet; overgrown ones get seedy and bitter.
- Cherry tomatoes: full color and a slight softness when squeezed.
Think like a farmer selling at a market: you’d rather offer tender, perfect veggies than oversized, tough ones.
Have a simple post‑harvest routine
- Bring a bowl, basket, or clean bucket to the garden.
- Rinse leafy greens right away in cool water.
- Dry them gently in a colander or on a clean towel.
You don’t have to use everything on the same day. Many greens store well in the fridge when wrapped in a damp towel and placed in a container.
As you gain confidence, you can connect your planting to recipes and meal planning, the way farms plan crops around chefs’ needs.
Step 12: Keep Tiny Records So Next Season Feels Easy
Farmers keep logs. You don’t need a binder, but a few notes each season will transform your learning curve.
Use a notebook, spreadsheet, or a notes app and track only:
- What you planted and roughly where.
- When you planted it.
- First harvest date for each crop.
- One or two problems and how you handled them.
Examples:
- “10 April – sowed radish/lettuce front band.”
- “5 May – first radish harvest. Plant more next year!”
- “Tomatoes too crowded in back row; space at 60 cm next time.”
By your second or third season, you’ll have your own local “farm wisdom” that beats any general advice.
You don’t need tractors or acres to think like a grower. By choosing a sunny patch, preparing soil once, planting resilient crops in a simple layout, and sticking to small, regular chores, your yard becomes a tiny, productive field.
That first bowl of salad leaves, or the first handful of beans straight off the plant, isn’t just food. It’s proof that your home can quietly do what farms have always done: turn sun, soil, and water into something you can eat.